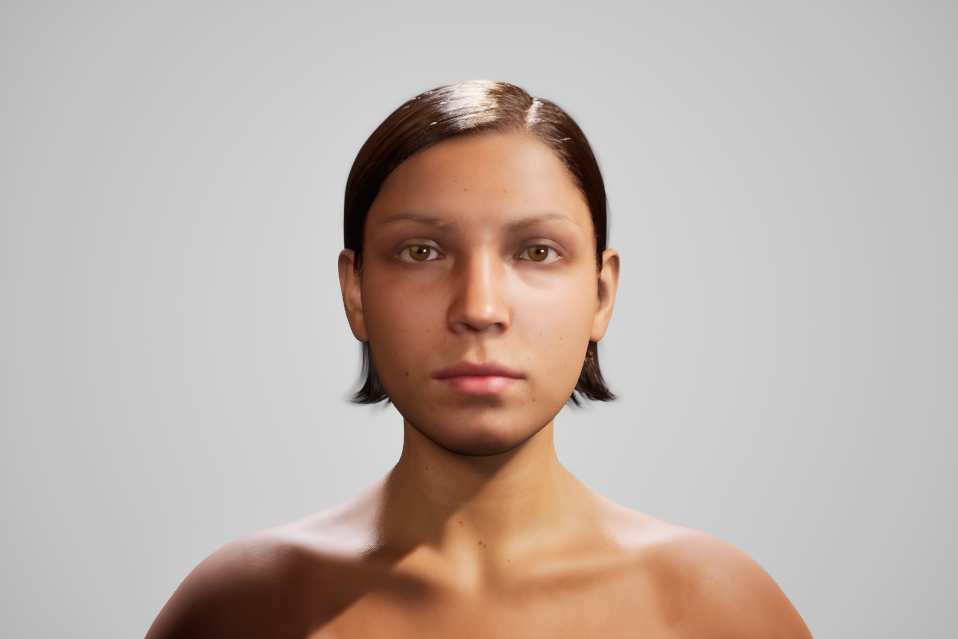
Lights with default settings

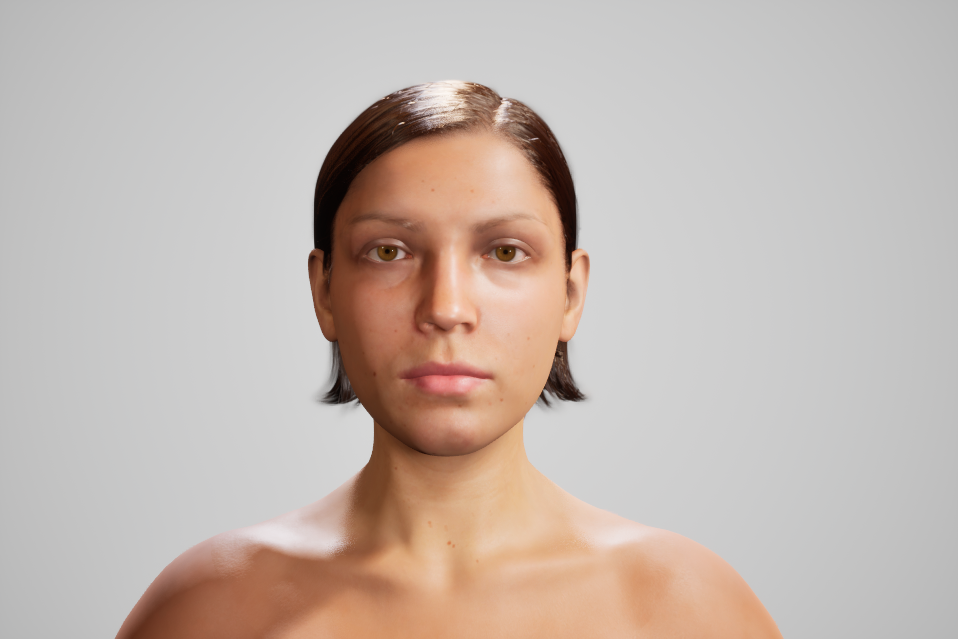
Lights with improved settings
This article describes some subtleties in the uses of shadow mapped spot lights in Unreal Engine. Understanding how to use these sometimes overlooked settings can help you increase the fidelity of your renderings.
For this example, the lighting calculations are are limited to direct lighting with spot lights. No GI is used. Neither SSAO or SSR are used. These techniques are valid in Unreal 4 and 5.
The example scene contains two light rigs. The lights are in the same location with the same intensities. The lighting in each rig consists of 4 lights:
1. Key 2. Fill 3. Rim 4. Eyes

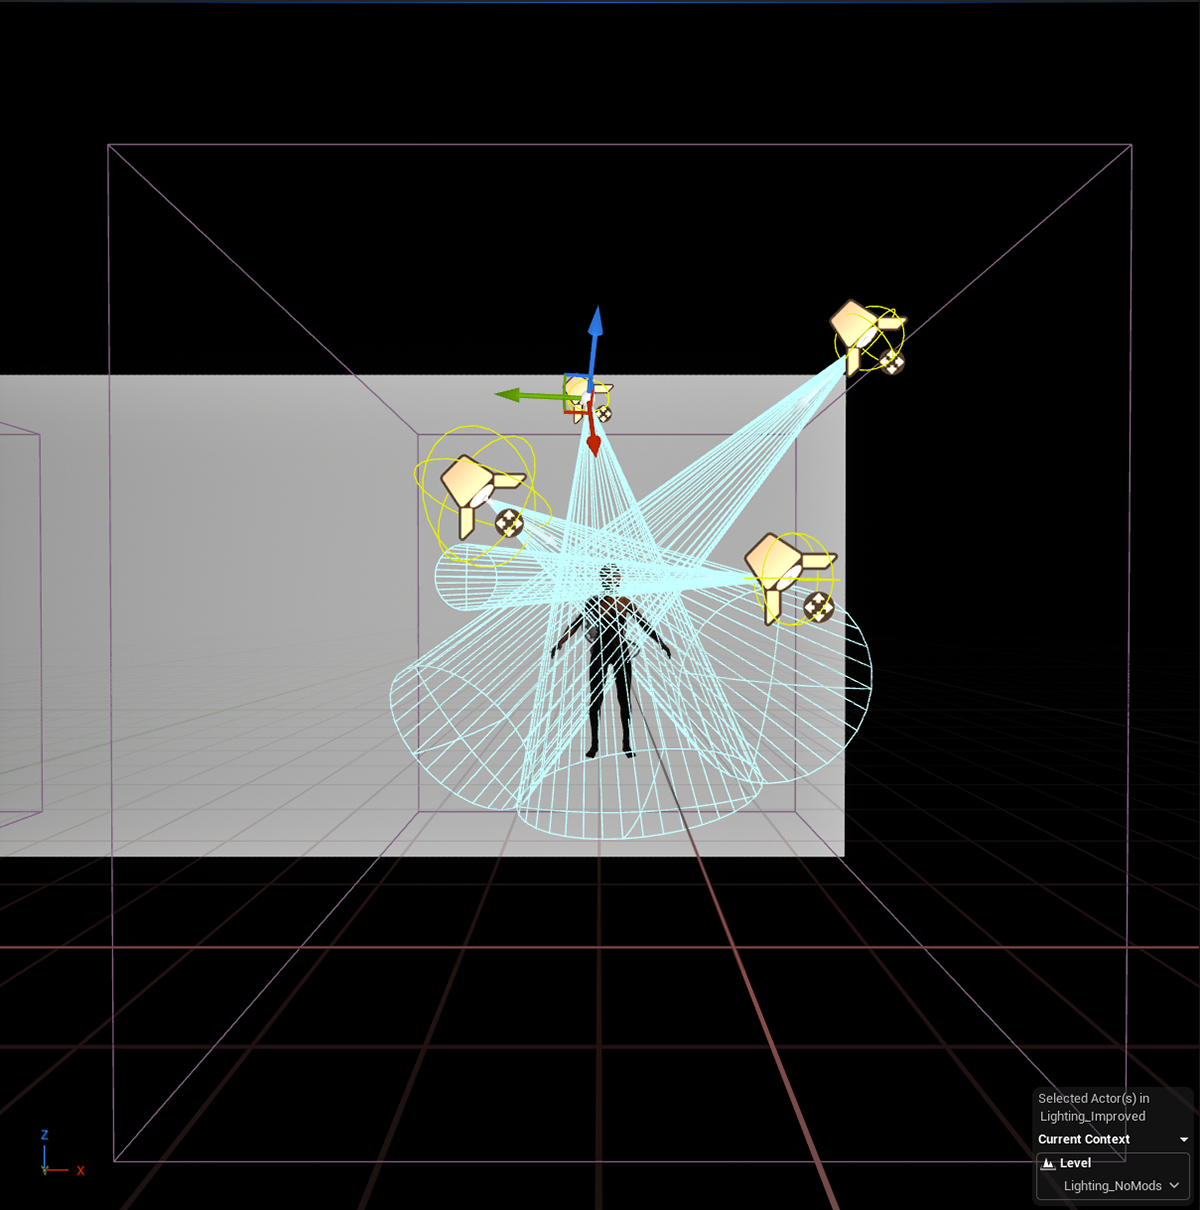
The Key Light


I've adjusted 3 parameters on the light to increase the fidelity
1. Outer Cone Angle 2. Shadow Bias 3. Light Source Size
The Outer Cone Angle of a shadow mapped spot light has an effect on the effective resolution of its shadow. The narrower the cone, the higher the shadow resolution, on account of the shadow covering less space.
The Shadow Bias controls the offset of the shadow map from the geometry. This number should be as small as possible without introducing artifacts (shadow acne). A smaller number allows the shadow to "seat" more onto the geometry, which does a better job of showing off mesh details and occluding unlit areas.
The Light Source Size controls the size of the analytical specular reflection from the light source. Increasing this size can help the light feel softer and wrap around the geometry more. This is a very subtle change for the key light.
The Rim Light
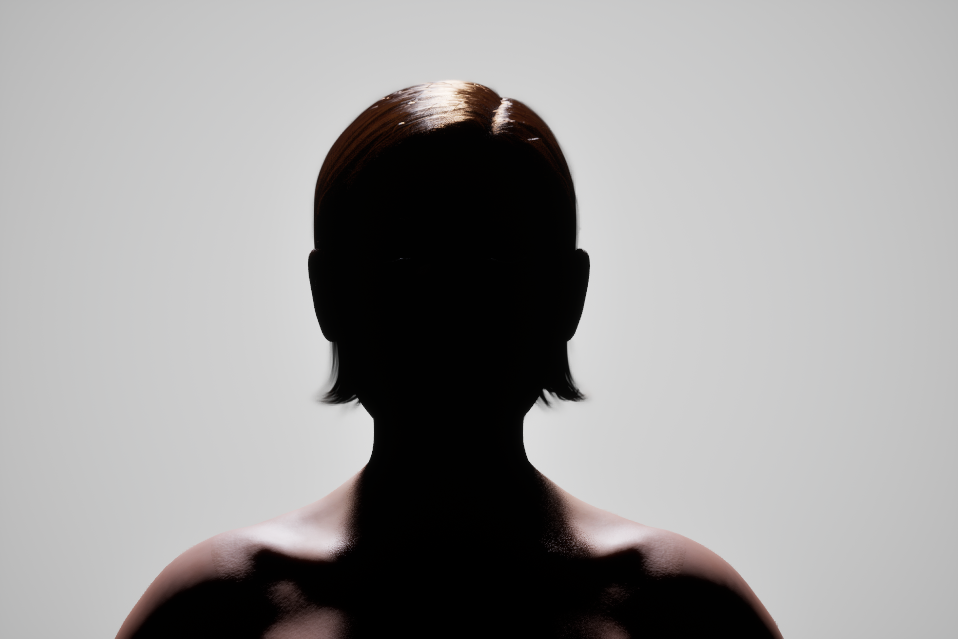

The rim light has similar changes as the key light: narrower Outer Cone Angle, smaller Shadow Bias and larger Light Source Size. In the case of the rim light, the Light Source Size is quite large at 100 units, to allow the light to wrap further around the front of the character.
The Fill Light


The fill light also has a narrower Outer Cone Angle, smaller Shadow Bias and a large Light Source Size. Because this is a fill light, it makes sense to me to create this as a large, soft light source. I added two additional modifications to the light to allow this to feel like a broader, softer source:
1. I reduced the Shadow Resolution
2. I added a value to the Soft Source Size.
2. I added a value to the Soft Source Size.
Reducing the shadow resolution on a shadow mapped light is an old trick to make the light feel softer. However, it can lead to artifacts, so you'll need to test if it's the right choice for your shot.
Making the Light Source Size larger, creates a larger reflection in the eyes as well. In this case, while I liked the larger size, I found the highlight too pronounced. In order to soften this, I added Soft Source Size.
The Soft Source Size is similar to the Light Source Size, in that it simulates a larger light source. The main difference is that Soft Source Size does not allow the light to "wrap" around. It only softens the specular highlight.
The Eye Light


The eye light has a lot of the same modifications as the other lights
1. The narrower Outer Cone Angle creates a more interesting lighting gradient on the character, and incidentally increases shadow resolution.
2. A lower Shadow Resolution value softens the shadow edges.
3. A larger Light Source Size changes the eye highlights to a more pronounced size.
2. A lower Shadow Resolution value softens the shadow edges.
3. A larger Light Source Size changes the eye highlights to a more pronounced size.
Your creative goals will be the primary driver of what settings to use on a light. Hopefully knowing more about these settings will help you adjust your lights to achieve your goals!